Summer hairstyle trends
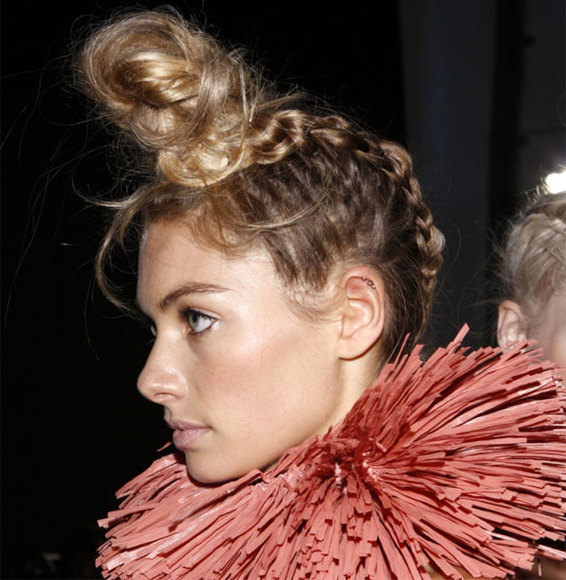
Braided top knot
1. To make a braided topknot style you must start by putting hair spray and letting it form a wave. For those of you who have very fine hair should not be afraid to use the amounts of mousse, then use a blow dryer to create the impression of messy hair.
2. Tilt your head forward. In the next step you will begin braiding from the back. To be easy in braiding and your hand will not be quickly tired is to tilt your head forward. It would be easy to control your hair while the braiding process.
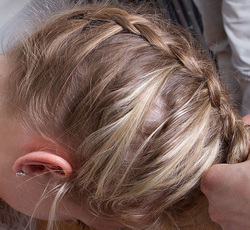
3. Braiding process starts from the base of the neck towards the top of the head. Please note this section is the point. A plain braid or called ‘French’ is flat braiding with the head. But the braiding is raised or the so-called ‘inverted french’or also called ‘Dutch Braid’is more effective for a topknot style. To create a Dutch braid each added strand of hair needs to be woven under instead of over the other strands.
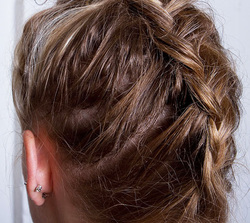
4. Continue the process of braiding until the end the hair of your forehead. Your hair should now have braided from behind your head and end up over your head. If necessary you can use a hair elastic to tie the hair. But once you’re experienced you can hold your hair with your own hand.
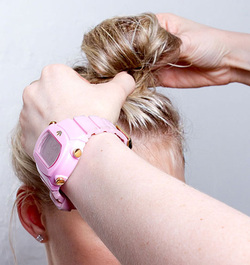
5. Take the end of the braid and twist it into a knot or small bun. Mold it into a form that neat or messy as you like, considering that the braided topknot style works better with a lot of texture and does not need too much in the polish.
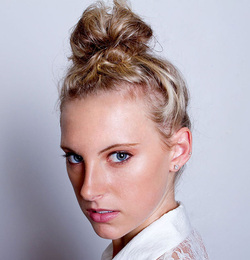
1. Finish off with a little hairspray to keep the topknot style in the place and your done!
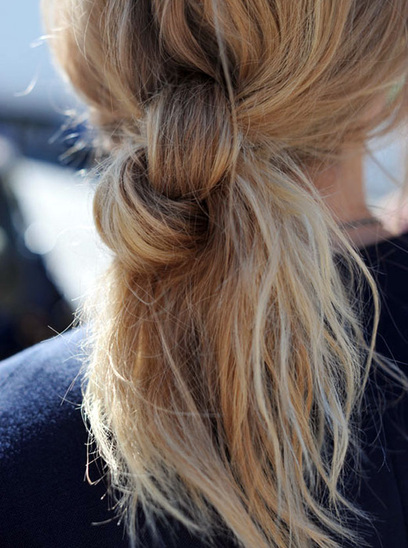
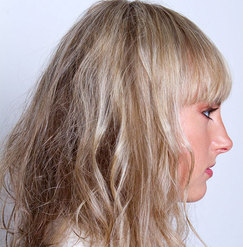
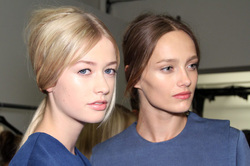
Double Hair Knot
To do the summer interpretation of the double hair knot, the instructions are as follows:
- First, spritz the hair all over with a sea-salt spray or hair spray.
- Next, scrunch the hair into bunches while drying to add waves and texture
- Pull a thick section of hair out at the front, sweeping it into a deep side part
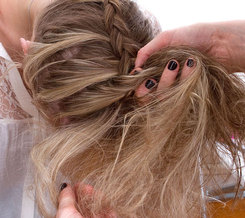
- Finally, take back two sections of hair and tie into a knot - then again into a double knot
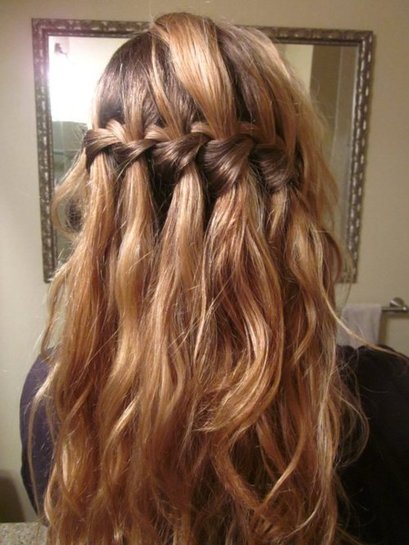
waterfall braid
Step 1
To start, part your hair in your normal parting and be sure to brush out any tangles. If you want to add waves to your hair it’s best to do this before you start with the waterfall plait. Then take a section from the front of your hair, right on your parting and split it into 3.
Step 2
Take the highest of your 3 sections and place it over the middle section, then take the bottom one and place over the middle section just as if you were doing a normal plait/braid. Angle your hands so that your hair is moving towards the back of your head and not down the side of your face for the next step.
Step 3
Before you move your top section over to the middle once again, you will need to pick up a little more hair from right beside the section, combine this with that section and fold over the middle section.
Step 4
Now instead of folding the bottom section over the middle you should drop that hair and pick up the section of hair that is hanging loose next to this section. As you fold this over the middle section you will see the section you dropped is now acting like a waterfall.
Step 5
You should continue with steps 3 and 4 until you have reached the point at which you want to stop! Some people start their waterfall braids on one side and continue all the way around and end with a normal braid/plait, others do one on each side and join them together and many just have them on the one side and secure them with a pretty accessory.

Feather hair extensions
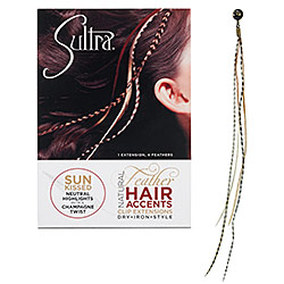
Feather Hair Accents
What it is:
A long-lasting, do-it-yourself, clip-in hair accessory in an assortment of on-trend styles.
What it does:
For a brilliant flash of playful color, these chic hair accessories can be added day or night to any style. Made from natural rooster feathers that can be dried, ironed, and curled, it's super easy to use and gives you the look of a salon 'do without any of the hassle. The discrete clip makes applying and removing the extension fool-proof.
What else you need to know:
These extensions are designed for any hair type and color
* You can get these stylish feather hair extensions online at sephora.com
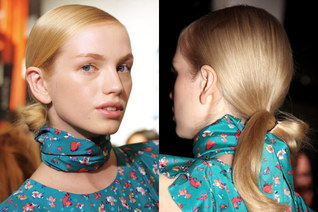
Simple styles WITH A TWIST
LOOPED ponytail
MESSY SIDE BRAID
PULLED APART PONYTAIL
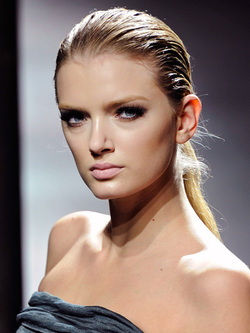
Slick straight Hair
wet ponytail